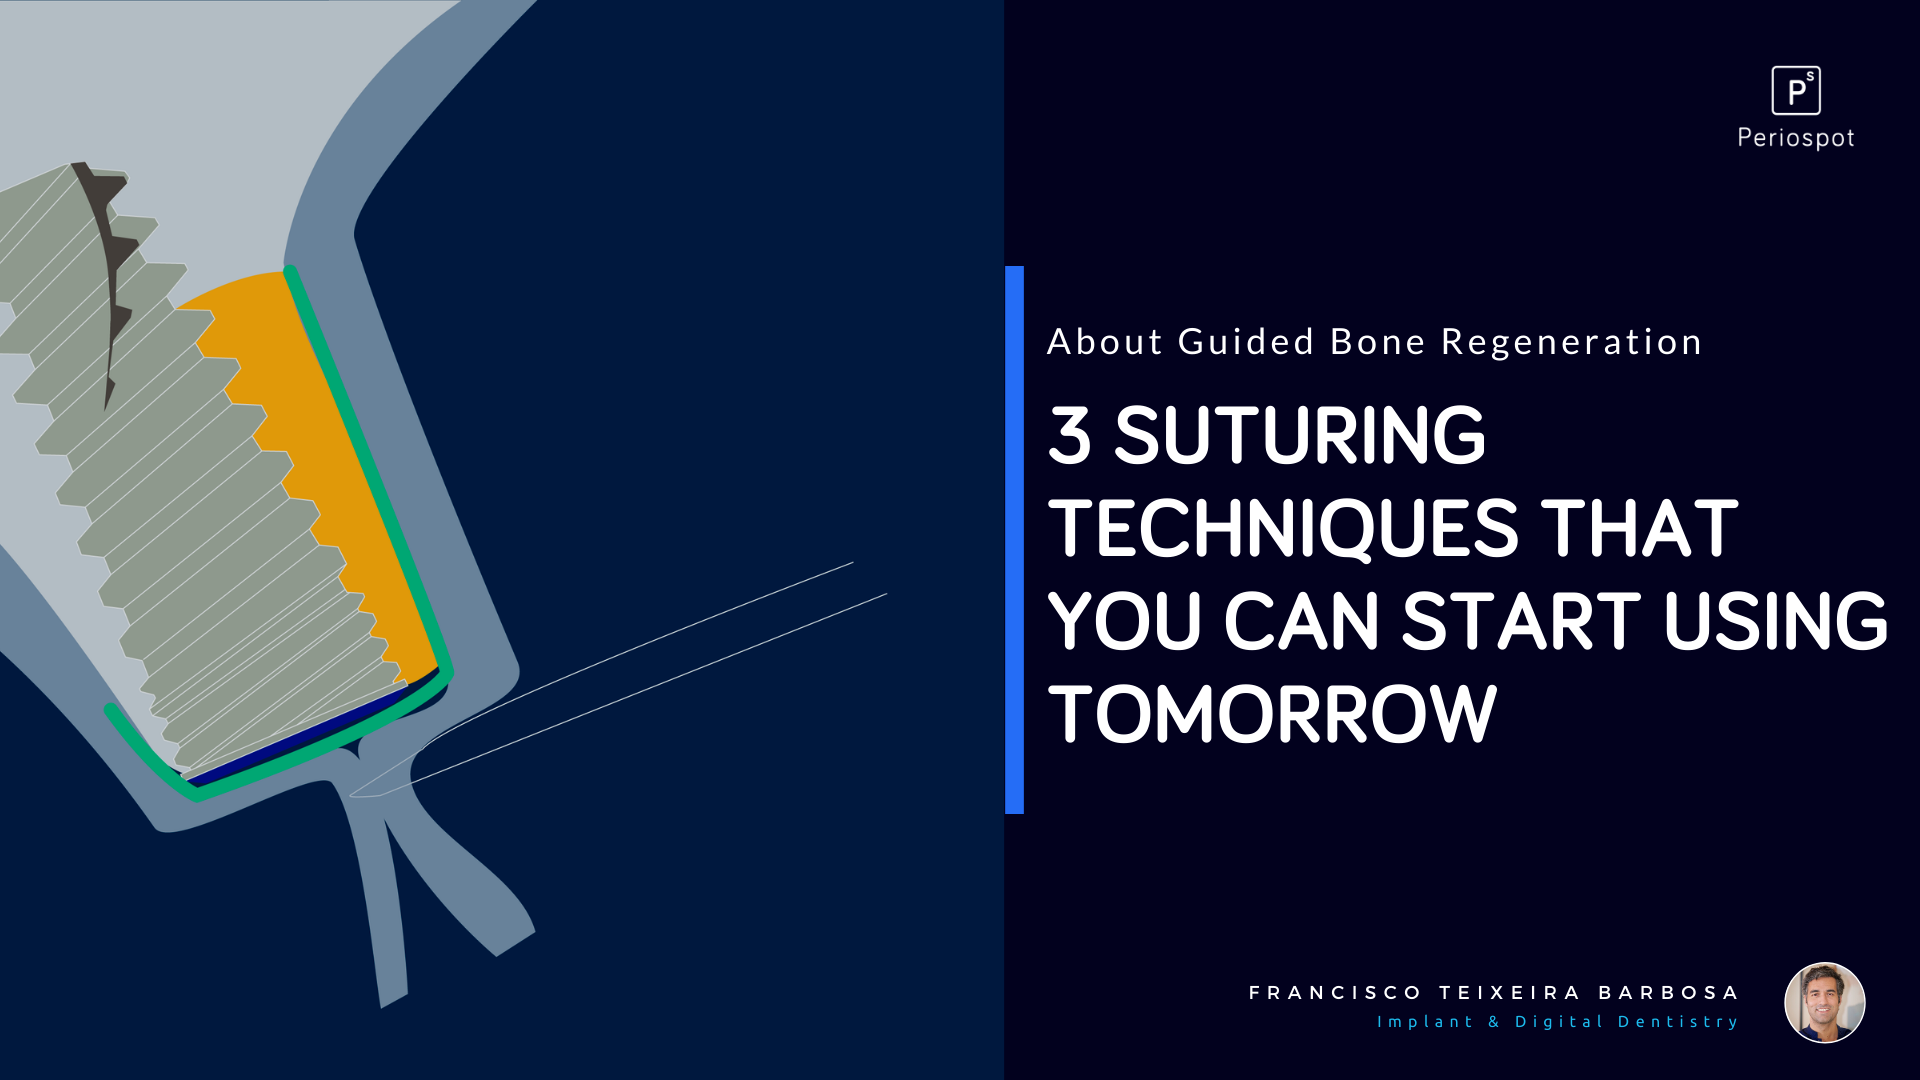

Did you ever attend a class about sutures? I´m sure you did, and I´m sure it was boring as hell.
Mainly because in those classes, we were learning the necessary skills to suture the most common wounds in our dental practice.
Of course, when we jump into more advanced suturing techniques, the thing gets much more attractive.
And suddenly, we realize that everything that we already know is not enough. Like that: a big BOOM.
That´s because in our daily practice, we mainly use two types of sutures:
– Simple sutures
– Continuous sutures
But when we perform periodontal plastic surgery or guided bone augmentation, we have to switch to other types of suturing techniques.
In this blog post, I´m going to try to guide you through 3 types of suturing techniques that you can adopt immediately.
I´m not going through “fantastic techniques” that will take you more time to adopt than humanity took to jump from the first printing press to the 3-D printers (1448-1984, more than 500 years).

They will be simple and easy to implement techniques. You´ll not need 500 years to start using them.
We live in a social media era. We learn and adopt techniques very fast: Look how much time we took to adopt smartphones- A very short time compared with the time we took to adopt Graham Bell´s invention at the beginning (more than 15 years for the telephone, and just 5 years for the smartphones).

Why use different suturing techniques?
Have you tried to place an implant in a patient who lost a tooth ten years ago?
I´m sure you did, and you noticed when you were planning the case that you´ll need “a bigger boat.”

There is no doubt that after a tooth extraction there are some events that will make things difficult for us to restore that missing tooth.
What I mean is that there will be a resorption and bone remodeling that will have to be fixed in the future if we want to place a prosthetic-driven implant (Schropp 2003, Cardaropoli 2003, Araujo & Lindhe 2005).
You can also try to perform an immediate implant, but that is another topic that I already wrote about it here.

So if you go ahead, and you plan a guided bone regeneration to allow the prosthetically driven implant positioning, you´ll need to know more about how to achieve a primary intention wound closure.
There are a lot of procedures to perform guided bone regeneration. You can learn more about it in this free ebook.
But even more important than the regeneration technique, it was proven that primary wound closure is needed to allow bone growth (Lang 1994, Simion 1998, Proussaefs 2005).
If you do a perfect Sandwich Technique, but you leave all that regenerated area exposed, the augmentation procedure may result in jeopardized (Hom-Lay wang 2004).
At this point, I have to say that the most common issue that leads to the exposure of the regenerated area, is the flap tension.
Burkhardt proved that minimal tension (less than 5 g) on the flap margins did not interfere with primary wound closure.
When the applied tension was between 5 g-25 g, minimal risk of wound dehiscence was present.
When that tension was greater than 25g, the risk of wound complications was very high (Burkhardt 2010).
What can we do to avoid complications with the suturing?
Mainly we can choose between 3 techniques that will improve the wound closure after a guided bone regeneration procedure:
Vertical Mattress Sutures
This technique is the most straightforward option to start with.
It is almost mandatory to know this option if you are going to perform guided bone regeneration where bone blocks or PTFE membranes are going to be used.
The idea behind this technique is shown in this animation:
The vertical mattress can be replaced by a horizontal mattress to provide an adequate wound closure.
Suspended External-Internal Sutures
This approach was published by De Stavola (De Stavola 2014).
The idea is to reduce the tension before the final horizontal mattress and interrupted sutures are applied.
How is this done?
Very simply:
1) Vestibular flap after the periosteum has been released.
2) The internal suture involves only the inner part of the vestibular flap, which avoids any “killer loop effect” on the marginal vascularity of the flap.
3) After the knots are tightened, the vestibular flap slips coronally.
4) Horizontal mattress and simple sutures are applied to seal the wound.

But I created this animation, so you can better understand the idea:
Periosteal Vertical Mattress Sutures
This technique is not to ensure a tension-free closure of the flap.
Its goal is to ensure the fixation of the removable membrane without using pins (we can save some money here).
The use of pins increases the risk of perforating important anatomical structures, such as the inferior alveolar nerve, the maxillary sinus, or the roots of teeth adjacent to the surgical site.
So you have a few good reasons to start using sutures to fixate the membrane.
Membrane fixation and positioning is not an option; it´s mandatory.
The lack of stability of resorbable membranes may lead to graft migration, membrane collapse, and insufficient bone formation (McGinnis 1998).
One of the most challenging moments during a guided bone regeneration procedure is the membrane positioning and fixation. This has to be correctly performed to avoid biomaterial migration.
Step by step to the PVMS technique (Urban 2015)
1) A full-thickness midcrestal incision
2) The two divergent vertical incisions are placed one tooth away from the surgical site. This allows a proper space to perform the guided bone regeneration procedure.
3) Cortical perforations with a round bur.
4) Place the bone substitute in the desired area. This can be done simultaneously to implant placement or in a two-stage approach.
5) We recommend using the sandwich technique (Hom Lay Wang 2004). You can learn more about this technique in this ebook.
6) Trim the membrane and place it over the graft.
7) The periosteal releasing incision has to be made 3 to 4 mm beneath the planned apical position of the graft material and the overlapping resorbable membrane.
8) The first periosteal suture with a resorbable material (6-0) is started by stitching through the periosteum apically from the periosteal releasing incision mesially and distally of the augmented area.
9) The suture is then continued as a mattress on the palatal/ lingual section of the mucoperiosteal flap.
10) Then close the flap with the technique explained before to ensure a correct primary wound closure.
Maybe explaining this with words is not enough to understand this, so take a look at this animation for a better understanding of the technique.
Also, you can get the animation of this technique 👉 here
Conclusions
If we want to achieve a successfully guided bone regeneration procedure, we have to follow the PASS principles (Hom-Lay Wang 2006):
1) Primary wound closure to ensure undisturbed and uninterrupted wound healing.
2) Angiogenesis to provide the necessary blood supply and undifferentiated mesenchymal cells.
3) Space maintenance/creation to facilitate adequate space for bone ingrowth
4) Stability of wound and implant to induce blood clot formation and uneventful healing events.
In this article I focused on providing some suture tips to help you through points 1 to 4.
Nevertheless, you will find many other techniques out there that will help you to avoid unpleasant moments, but these are the ones you can start using right now.
Also, you should follow Howie Gluckman work. In my opinion, his posts with tips about implant dentistry are the best. Follow Implant & Aesthetic Academy to stay updated.
What techniques do you use during a guided bone regeneration? Are there any that you would like to share with us?
I would be happy to hear your recommendations, so leave your comment, and we can discuss it further.
Recommended Book- Guided Bone Regeneration in Implant Dentistry