After receiving some emails from some followers, I decided to create this tutorial to introduce how I create my illustrations.
First of all you should get Illustrator from Adobe. I made a subscription so I pay for it abour 25€ per month, so you don´t have yo spend 700€ that what this software costs.

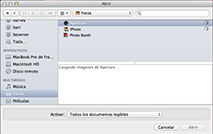
After this I open the Illustrator and I import a picture that I want to transform into a illustration. This can be a .jpg or any other file (illustrator can open almost all files).
[one_half] [/one_half] [one_half_last]
 [/one_half_last]
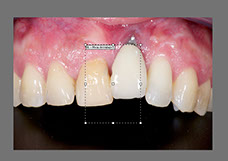
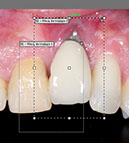
After this I have to set my worktable in this icon, that is where I´m going to draw and export my last illustration. After this you can zoom in and out to your worktable just to have more detail in your work.
[one_third] [/one_third] [one_third]
 [/one_third] [one_third_last]
 [/one_third_last]
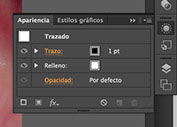
I choose the pencil tool and the first option of the drop down. After this I set the color of my pencil and the color of the content of what I´m going to draw.
[one_third] [/one_third] [one_third]
 [/one_third] [one_third_last]
 [/one_third_last]
I start draw and is important that you have to handle with the angulations of the points that you mark. The more points you use you will have more detail, but is more difficult to draw and to get natural shapes.
[one_fourth]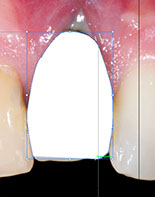 [/one_fourth] [one_fourth]
 [/one_fourth] [one_fourth]
 [/one_fourth] [one_fourth_last]
 [/one_fourth_last]
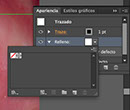
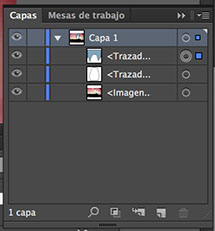
After you draw you can choose the layers and set them in the position that you want. You can also hide the layers that you don´t want to export (like the photo).
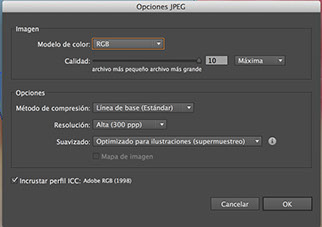
After that you just have to export the file. Be sure to check the box “use the work table”, and choose your format.
[one_half]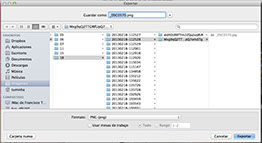 [/one_half] [one_half_last]
 [/one_half_last]
I hope this can help you and in the future I´m going to do a tutorial how I make animationes with this illustrations.

